Introduction to Amazon Code Pipeline with Java part 10: the client web pages
May 21, 2016 1 Comment
Introduction
In the previous post we looked at an important component that comes up during a job execution in CodePipeline, namely the continuation token. The continuation token can be supplied in the response to CP when a new job is processed. The token will then appear the next time the job agent gets a signal about a new job. That way the job agent will know that it’s a job that has already been initiated. The job is in effect divided up into multiple small partial jobs coming from CP. The partial jobs will keep coming until the job agent has indicated a 100% completion rate.
We’re almost at the point where we can start looking at the structure of the job agent itself. Before we do that I’d like to present you what type of web pages you’ll need to build for a third party action. We’ve already seen some pictures but I’d like to provide some further details.
The external configuration site
We’ve already mentioned the external configuration URL before. This is one of the URLs that you’ll need to provide to AWS so that the third party action can be listed in CP. The URL must lead to a web site where the CP user can complete the registration. It serves as a means of setting up the properties necessary for the job execution.
In our case it’s set to https://loadtest.apicasystem.com/AwsCodePipeline/Setup followed by a query string with the “request” key that holds a URL-encrypted JSON object. We ask the user to fill in a number of fields like the scenario file name and the load test thresholds to evaluate whether the job has been successful:

If the request parameter JSON, which we saw before, is already filled with the job parameters then these fields are pre-filled. The “Continue with these settings” button will redirect the user to the CP setup page where they can save the changes.
The job execution site
The next web page you’ll need to prepare is the job execution details page. It corresponds to the Details link in the third party action:

This is called the execution URL template and in our case it is https://loadtest.apicasystem.com/LiveDashboard/JobOverview?jobid=xxxxx where the jobId query parameter is templated and is filled in during job execution, e.g. https://loadtest.apicasystem.com/LiveDashboard/JobOverview?jobid=189524. This is the continuation token that we discussed in more details previously. The execution URL must also be specified when you want to register your third party action with AWS.
It is up to you how you build the job execution web page. Normally it should provide the details of the ongoing job since we cannot show anything custom-made in the CodePipeline UI. Here’s an example:

The entity web page
We haven’t mentioned this so far. This is the third URL that we must provide during the third party action registration process with AWS. It is called the entity URL template and it is a parameter that’s returned to CodePipeline and deep links to the resources of the external system. The link is rendered in the UI on the action provider in the pipeline view:

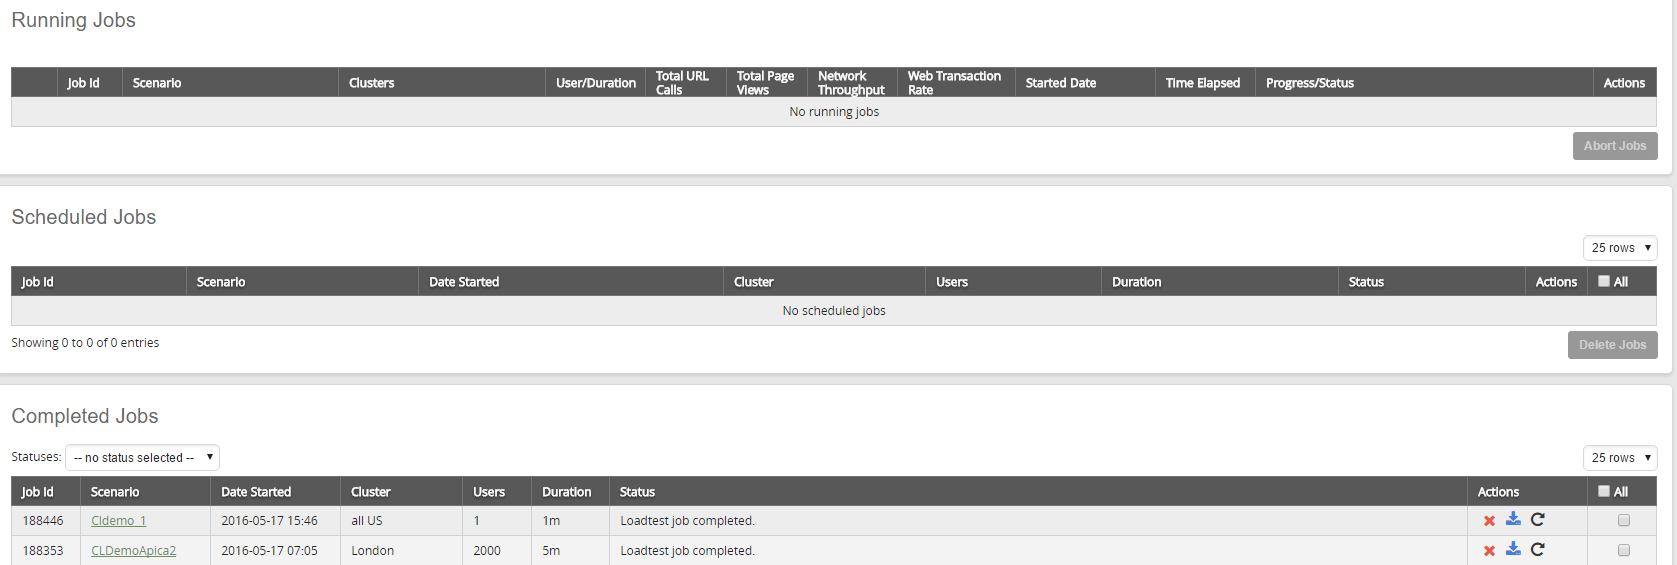
In our case we provide a link that leads the customer to the jobs summary page to view all load test jobs. The URL is https://loadtest.apicasystem.com/jobs and the page looks like this:
Again, it is up to you what kind of web site you build as the entity web page.
Summary
Here’s a summary of the 3 URLs that must be available for the third party action:
- Entity URL template: web page to show some resources or job summary page to the user. It really can be any web page where the user can view some relevant information. The URL is fixed, meaning it cannot be modified during job execution
- Execution URL template: the job details page whose URL can be modified with the continuation token. This is meant to be a page where you show the details of a specific job to the user
- External configuration URL: the web page where the CP user can set up and later update the job properties. Put all the necessary components on this page which are necessary for a job execution: file names, job duration, server names etc., anything goes really
All 3 URLs must be https.
In the next post we’ll start looking into the details behind the job agent.
View all posts related to Amazon Web Services and Big Data here.


Pingback: Introduction to Amazon Code Pipeline with Java part 10: the client web pages — Exercises in .NET with Andras Nemes | SutoCom Solutions