Introduction to Amazon Code Pipeline with Java part 3: adding custom job runners
April 9, 2016 Leave a comment
Introduction
In the previous post we went through the steps to set up a brand new pipeline in AWS Code Pipeline. If you are entirely new to the AWS tools then you might find it overwhelming at first as you have to learn about other AWS tools as well such as S3 and Elastic Beanstalk. However, you might not need all of it since a pipeline can be quite little and consist of only 2-3 steps. The pipeline will start executing as soon as it has been set up. The arrows connecting the steps enable us to cut the execution of the pipeline at a specific step.
In this post we’ll see how to update a pipeline. Updating the pipeline also makes it possible to add custom build runners to the pipeline. I’ll use the load test job runner I referred to in the first part. Note that you’ll need an Apica Loadtest account to fully follow along these steps. The main point is to demonstrate the process of adding a new custom job runner to an existing pipeline. The implementation details are not important at this moment.
Updating the pipeline with custom job runners
So we have at least one code pipeline and we want to add some other actions to it. If you click on the name of the pipeline you’ll get to the details screen. Here’s an example with the Edit button highlighted:
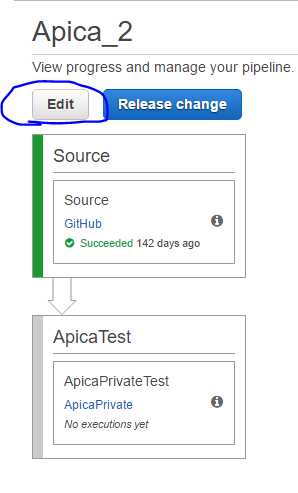
Click the Edit button so that we can modify the pipeline. The screen will look something like this:

There are several places where we can edit the pipeline, all highlighted in the above screenshot. The pencil icons will modify an existing element, the x will remove it and the + icon will add a new one. What we are looking for in this case is to add a new stage. CodePipeline comes with its own terminology and a “stage” is one example. We’ll get to that in one of the upcoming posts.
Click on the + icon to the left of Stage and add a stage name:

Then comes a new term we need to learn: the action. Click on the + icon above Action which will open an overlay window on the right hand side:

The available job runners are currently put into one of 5 categories:
- Source: GitHub or S3, we saw this before
- Build: e.g. Jenkins
- Test: various test runner, including the one I’ll select for this demo
- Deploy: Elastic Beanstalk or CodeDeploy, this isn’t new either
- Invoke: e.g. AWS Lambda
The Test category has the widest sortiment of integrations. I’ll select the Test category, provide some action name and choose “Apica Loadtest” as the test provider:

This will reveal a new section just underneath where we can connect to the test provider’s home page. Clicking Connect in the Apica Loadtest section will lead me to an external login page on the Apica Loadtest web site:

After logging in we can set some properties that are relevant for the load test:
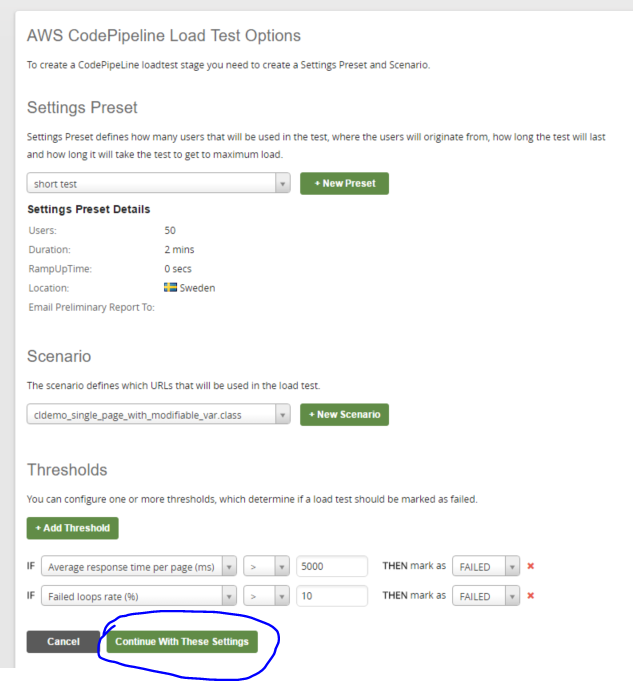
The Continue With These Settings button will take me back to the CodePipeline stage setup page which will now show the selected properties:

The selected properties are stored in a key-value collection in the “Action configuration” section. They are necessary inputs for a load test and they will be saved in CodePipeline and available when a load test starts.
There is one more section in the bottom that is not necessary for this demo: Input artifacts. You can place your cursor in the “Input artifact #1” text box and you’ll get a list of available options. Artifacts are usually files that are the result of a stage, e.g. a build. That file can be made available downstream for another stage. The load test job runner doesn’t need any so I’ll leave that text box empty. If you are familiar with using TeamCity or Jenkins then you’ll know the notion of artifacts.
Clicking the Add action button in the bottom of the screen will add the new action to the stage:

Finalise the changes by pressing the “Save pipeline changes” button. Here’s what we have at this point:
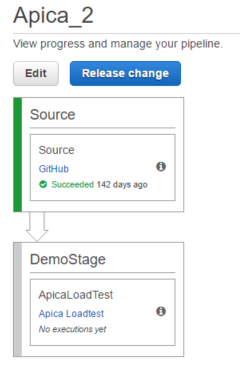
A simple pipeline with two stages. A pipeline must have at least 2 stages so this is as simple as it gets really.
We can trigger the pipeline by clicking the Release change button:
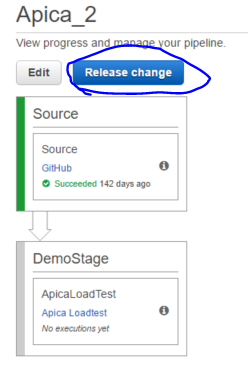
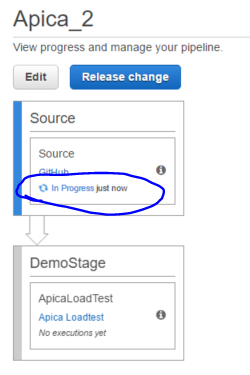
If the stage finished with a success the second stage will start executing:
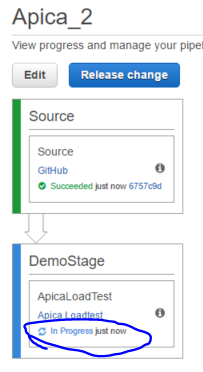
The stage has 2 links. One called Apica Loadtest and one called Details. Both links will lead to a site within Apica Loadtest where we can view the details of the load test. I.e. there’s no job runner details page or section available in CodePipeline, it is always viewed in some custom web page prepared by the owners of the job runner.
What made the job start? How do we implement the job actions? How is the job action monitored? There are many questions we need to go through in order to understand all these details. We’ll eventually get there.
If you are using TeamCity or Jenkins at work and maybe also developed a plugin to them then you’ll already see some key differences between them and CodePipeline. We’ll go through these differences in the next post.
View all posts related to Amazon Web Services and Big Data here.

